.png "Kodi Builds & Addons | Tech Tutorials | Everything Kodi Builds")
How to Install the Doomzday BK19 Kodi Build on Kodi 19 The procedure for installing the Doomzday BK19 Kodi Build on Kodi 19 is described in detail below.
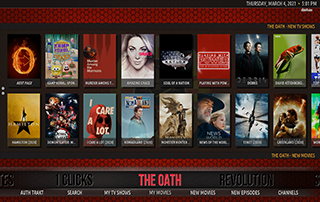
At present, the Doomzday BK19 Kodi Assemble is one of only a handful of exceptional forms viable with Kodi 19!
How To Install Doomzday Kodi Build
- Open Kodi
- Click the settings icon
- Click System
- Hover over Add-ons menu item and turn on Unknown sources if not already on
- Click Yes
- Click back on remote to go back to the System page
- Select File Manager
- Click Add source
- Click None
- Type the following URL exactly as shown here – https://doomzdayteam.github.io/doomzday and click OK
- Highlight the box under the source that you just typed in and enter a name for this media source
- Type “doomzday” or any other name you would like to identify this source as and click OK
- Click the back button on your remote or keyboard until you are back on the System Screen
- Choose Add-ons
- Click Install from zip file
- When prompted with the following Warning message, click Yes
- Choose doomzday
- Click zip file URL: repository.doomzday-1.0.7.zip
- Wait for Doomzday Repo Add-on installed message to appear
- Click Install from repository
- Choose Doomzday Repo
- Select Program Add-ons
- Choose Doomzday 19 Wizard
- Click Install
- Click OK
- Wait for Doomzday 19 Wizard Add-on installed message to appear
- Click Continue
- Click Ignore
- Return to the Kodi home-screen and under add-ons choose Doomzday 19 Wizard
- Click Builds
- Choose Doomzday BK19 Kodi Build
- Click Install
- Click Yes, Install
- Wait for the build to install
- Click Fresh Install
- Click OK
- Relaunch Kodi 19 Matrix
- That’s it! You have installed the Doomzday BK19 Kodi Build for Kodi 19
- Enjoy!