.png "Kodi Builds & Addons | Tech Tutorials | Everything Kodi Builds")
This step-by-step guide will show you How To Install Franks Kodi Build on your preferred streaming device.
The Franks Kodi build is located within the Slamious Repository, which contains other popular builds such as Slamious.

Franks is a popular Kodi build that has recently updated, and is now working great!
This build features a simple interface, great category selection, filled content library, and more.
Franks works great especially when integrated with Real-Debrid.
For these reasons and more, we have included Franks within our list of Best Kodi Builds.
Prior to installing any Kodi Build, we always recommend resetting Kodi to default settings. This can be easily done on any device you have Kodi installed on.
WARNING! USE ONLY WITH IPVANISH VPN
Your streaming activity is actively tracked by your Internet Service Provider, app/addon devs, and government through your identifying IP address.
Stream and download anonymously by using IPVanish VPN.
IPVanish will encrypt your connection to the Internet and mask your IP address so you will remain 100% anonymous.
SAVE UP TO $65 WITH THIS TIME-SENSITIVE DEAL
IPVanish backs their service with a 30-day money back guarantee.
IPVanish allows you to use your account on unlimited Internet-connected devices.
How To Install Franks Kodi Build Guide
- Launch Kodi
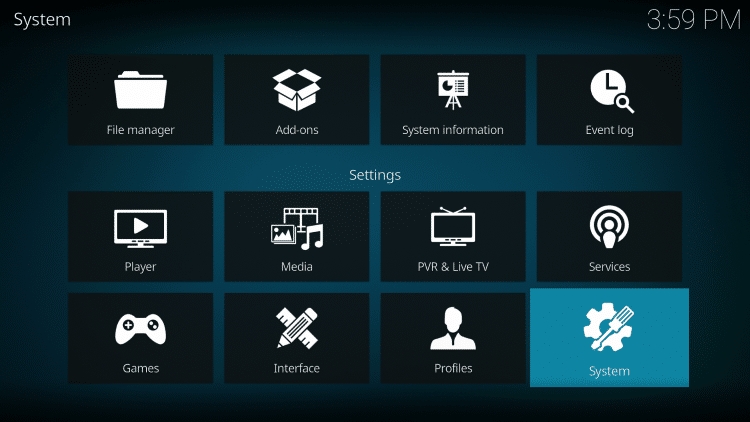
- Click the settings icon


- Click System
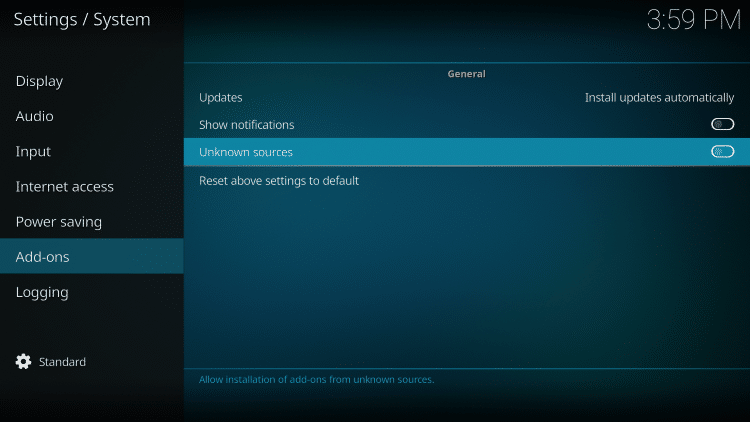
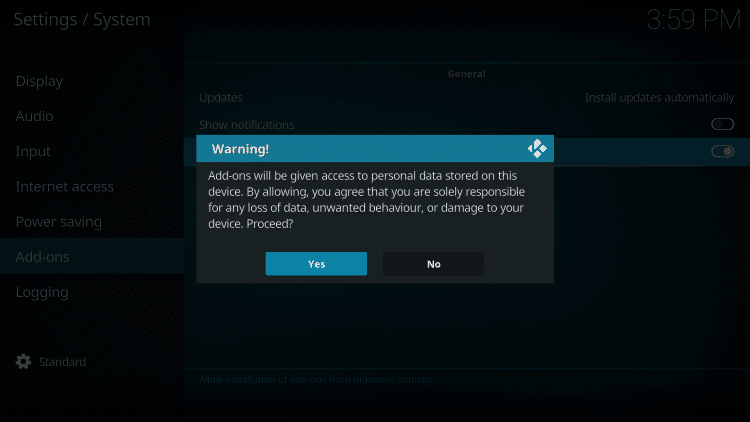
- Hover over Add-ons menu item and turn on Unknown sources if not already on
- Click Yes
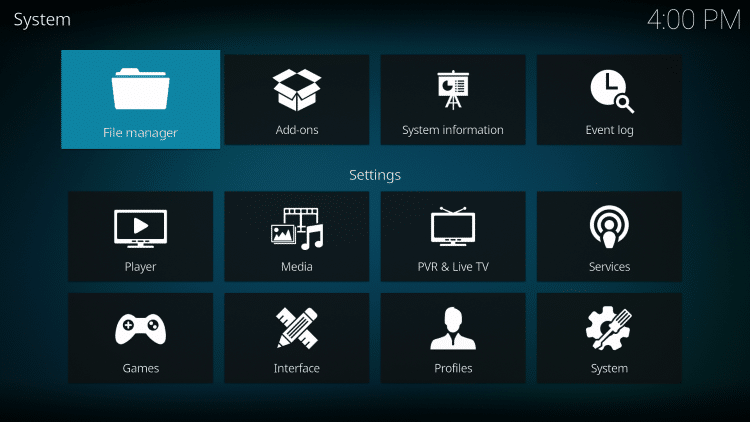
- Click back on remote to go back to the System page
- Select File Manager
- Click Add source

- Click <None>
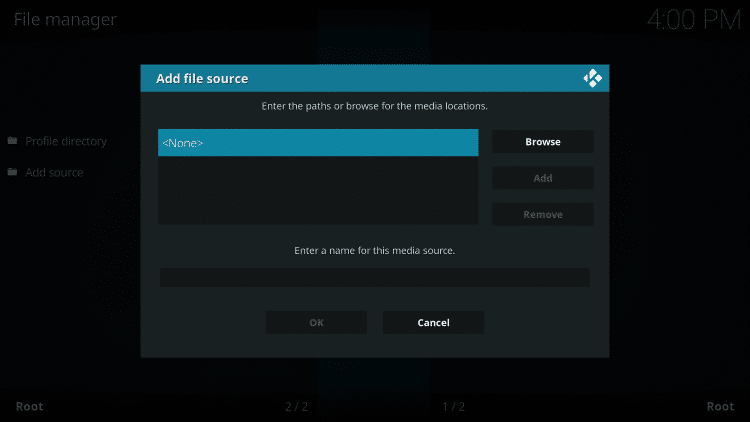
- Type the following URL exactly as shown here – https://team-crew.github.io
- Disregard the old Repository URL in the screenshot below
Note: The referenced link is the official URL of this app/addon. Everythingkodibuilds does not own or operate any streaming website, service, app, or addon, and has no affiliation with any developers.

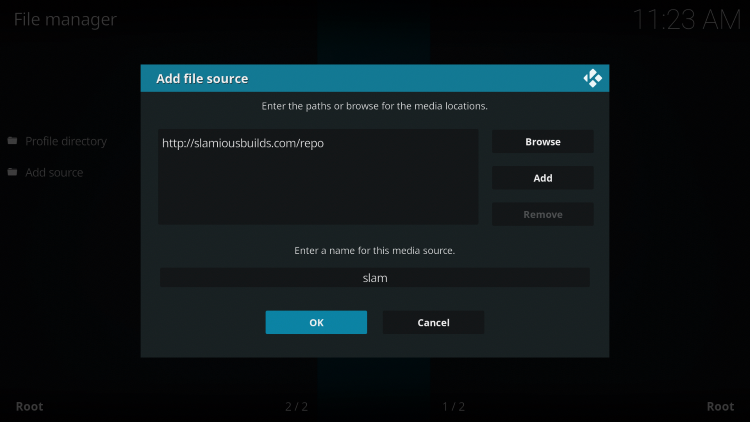
- Highlight the box under the source that you just typed in and enter a name for this media source
- Type “slam” or any other name you would like to identify this source as and click OK
- Click the back button on your remote or keyboard until you are back on the System screen
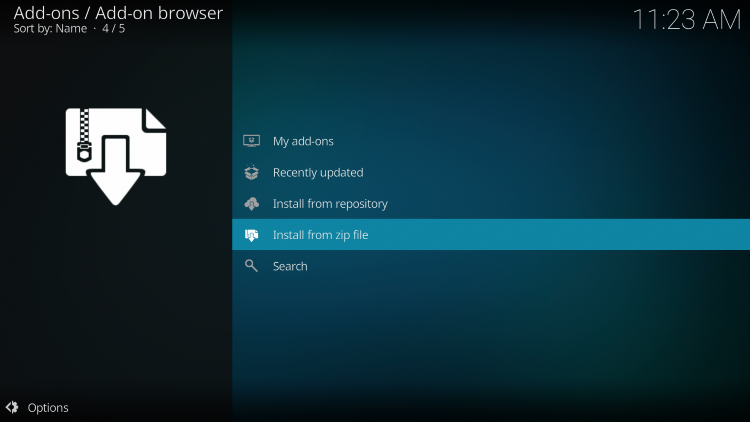
- Choose Add-ons

- Click Install from zip file
- Choose “slam” or another name you assigned the media source in the previous step
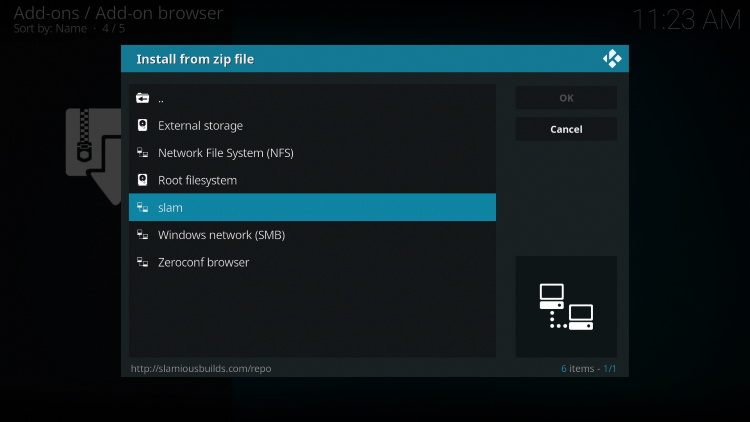
- Select Slamious Repo.zip

- Wait for the “Slamious Repo Add-on installed” message to appear. You may have to be patient for a minute or two
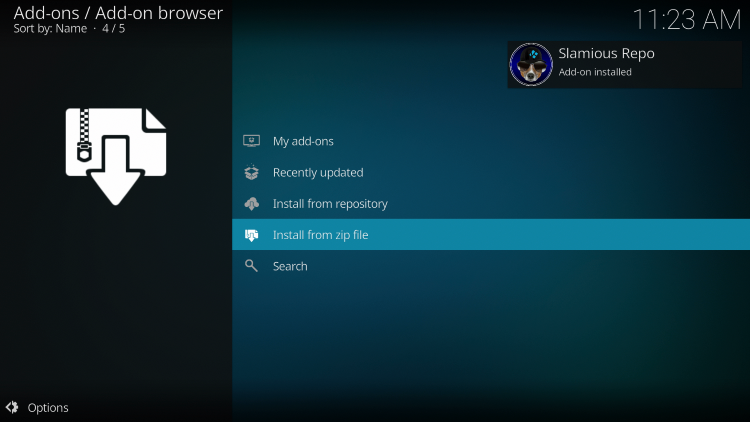
- Click Install from repository
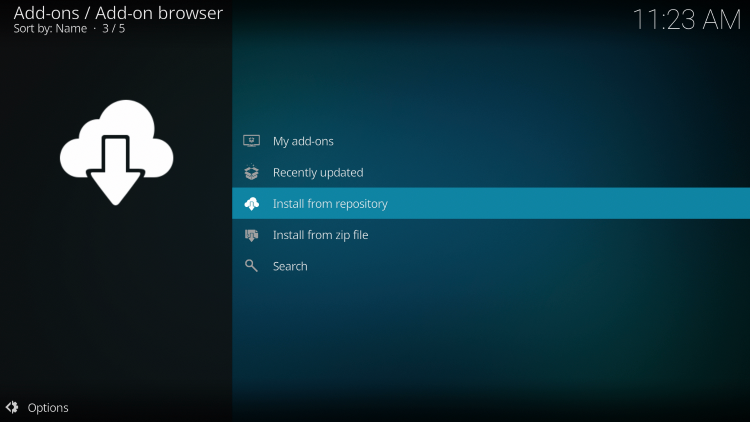
- Choose Slamious Repo
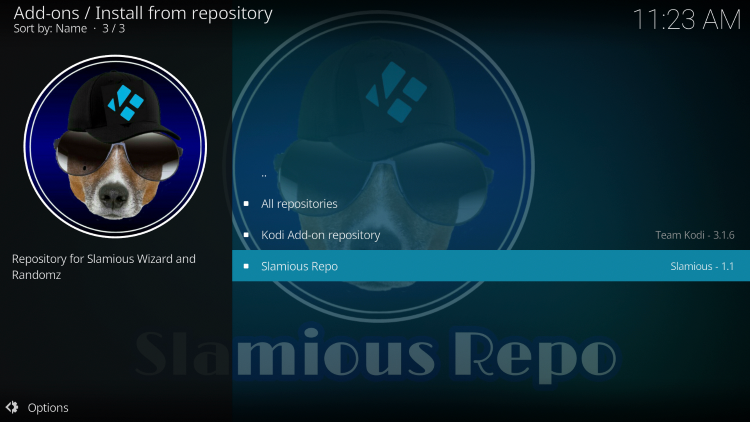
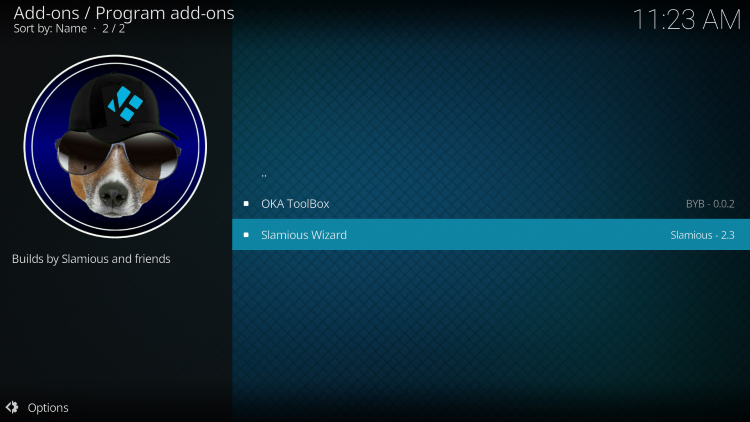
- Select Program add-ons
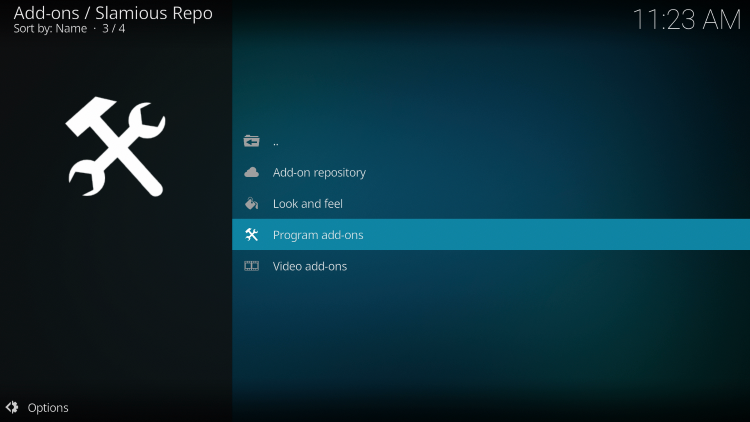
- Click Slamious Wizard
- Click Install
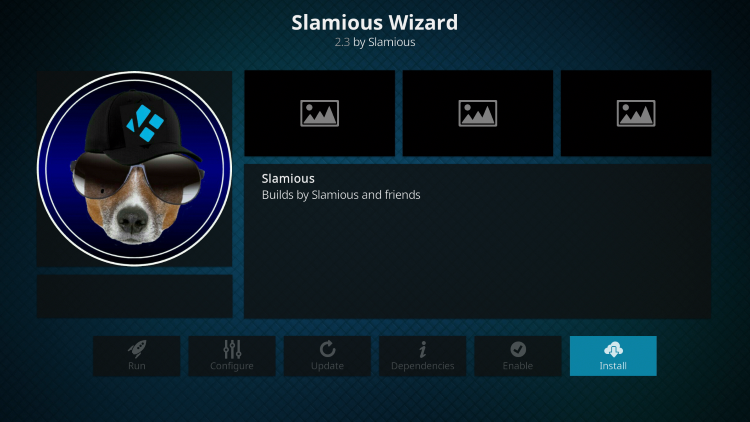
- Wait a minute or two for the Slamious Wizard add-on to install

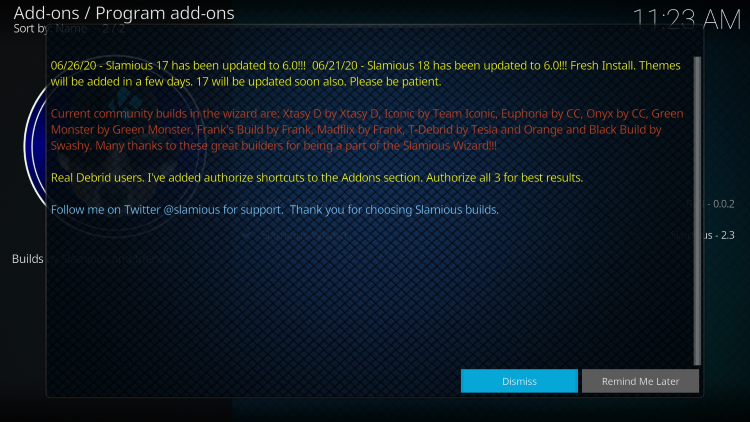
- When this screen appears just click Dismiss.
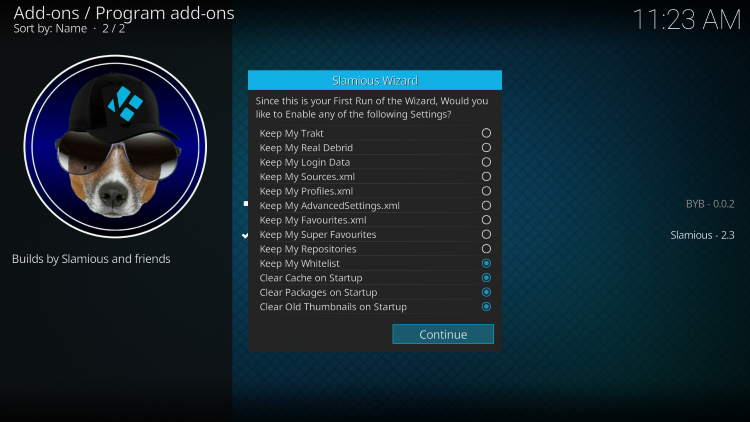
- Click Continue
- When this message appears click Ignore or the back button on your remote

- Return back to the Home screen of Kodi and choose Add-ons
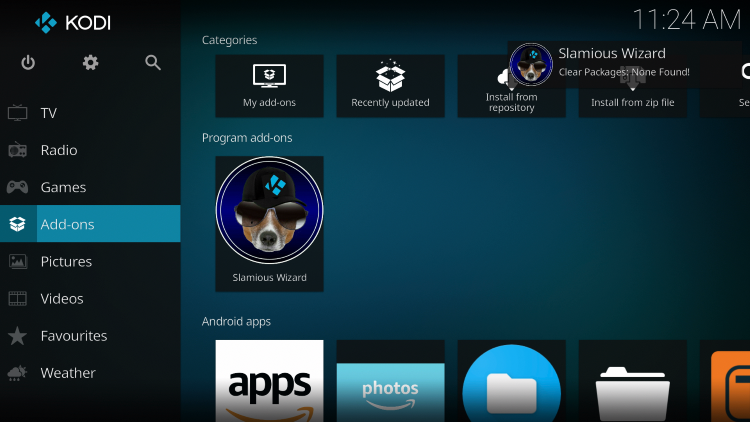
- Scroll down and click Program add-ons
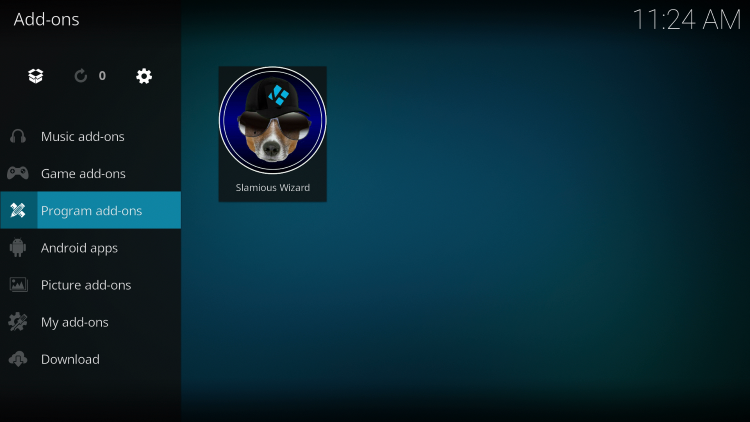
- Click Slamious Wizard

- Click Builds

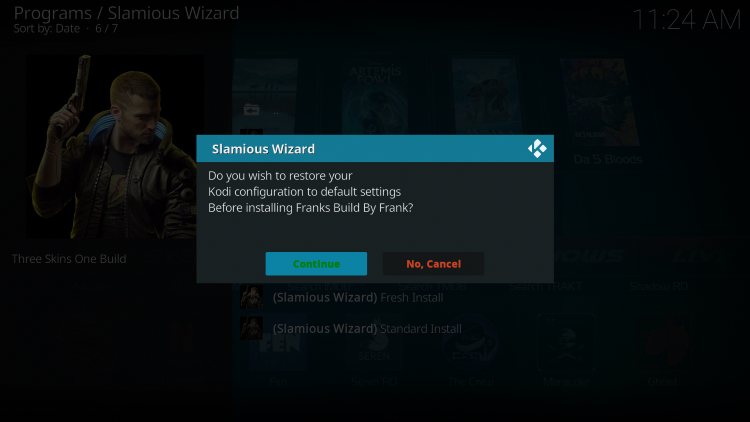
- Choose Franks Build by Frank

- Select Fresh Install

- Click Continue
- Wait for the Franks Build to install

- When this message appears click Force Close

- Once the download is complete, reopen Kodi from the Home menu

- That’s it! The Franks Kodi Build is now successfully installed.

- Once at the main screen make sure to allow the menus to build and add-ons to install. This may take a few minutes so be patient.